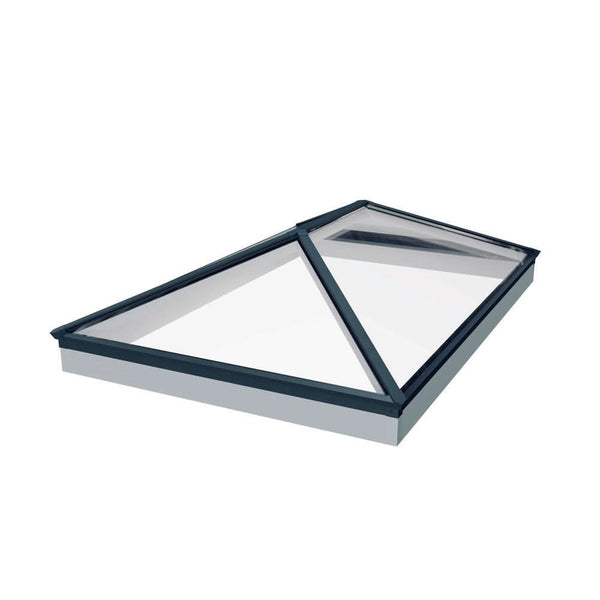
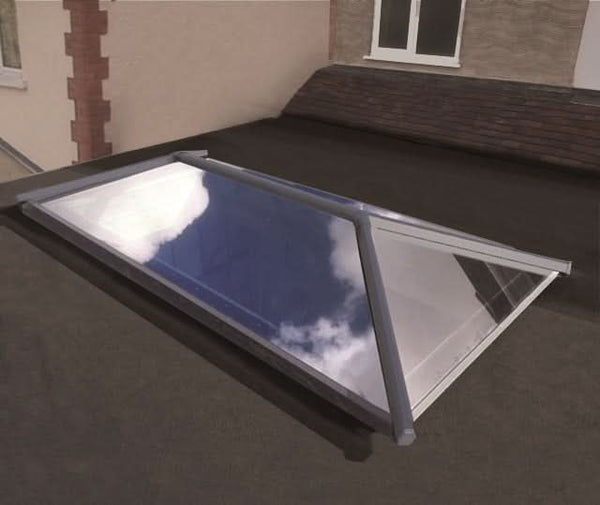
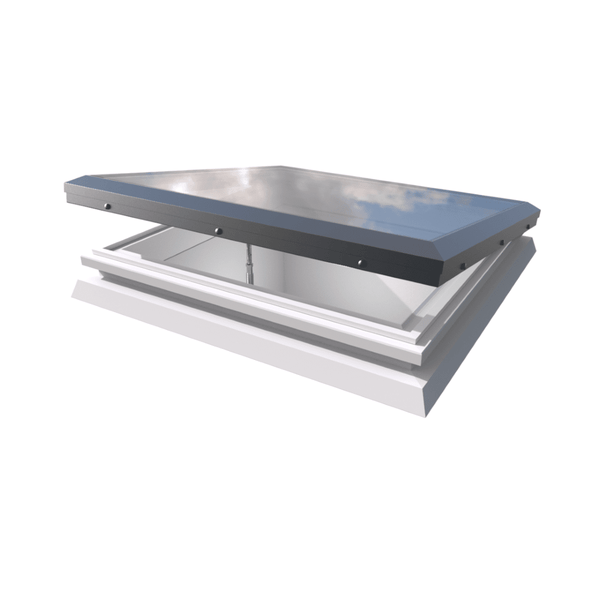
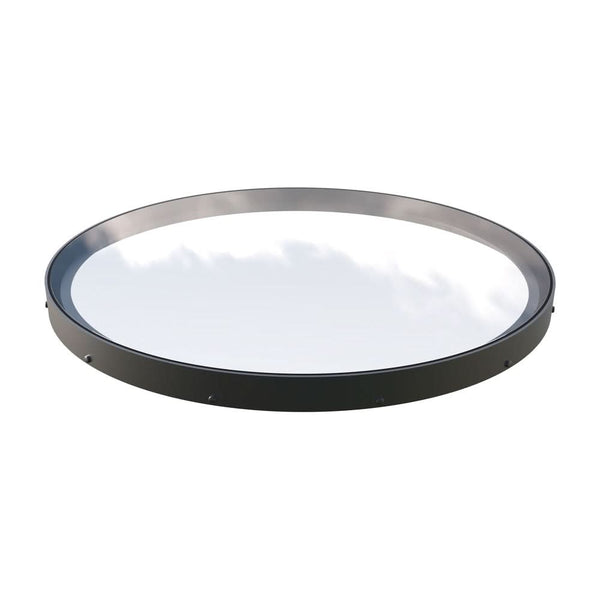
For professional installers working on residential extensions, flat roofs, and commercial builds, electric rooflights installation is becoming a standard part of the job. Clients want motorised opening, rain sensors, and smart controls and it falls to you to deliver a clean, compliant fit. Getting electric rooflights installation right from the start means understanding the motor system, your wiring routes, and the control options available. This guide covers everything you need on site.
What Makes an Electric Rooflight Different from a Manual Unit?
An electric rooflight uses an integrated actuator typically a tubular chain or rack-and-pinion motor to open and close the glazed unit. Unlike manual rooflights that rely on a winding handle or pole, the motor is triggered electronically via a wall switch, remote, or smart control system.
From an installation standpoint, the key difference is the motor cable running from the actuator to its control source. The rooflight unit seats onto the upstand in exactly the same way as a fixed or manual model — the electrical element is what changes your prep work. If you are sourcing units, browse the full range of rooflights and skylights to find electric-compatible options built for professional installation.
Electric Rooflights Installation: Step-by-Step for Installers
Step 1 – Pre-Installation Checks
Before the unit arrives on site, confirm:
- The upstand or kerb is at the correct height typically 150 mm above finished roof level as a minimum, always per the manufacturer's specification.
- A clear, dry cable route exists from the rooflight position to the switch or control point.
- The structural opening is square and within tolerance motor units will not compensate for racking.
- Mains power is available nearby if hard-wiring is planned.
Step 2 – Setting the Unit in Position
Electric rooflights are heavier than manual equivalents due to the motor assembly. Use a second operative when lifting. Set the unit onto the upstand, check it is level in all planes, and secure per the fixing schedule before connecting any electrical components.
Step 3 – Motorised Skylight Wiring
This is where motorised skylight wiring requires the most care. Most electric rooflight motors operate on 24V DC or 230V AC always verify before connecting. The motor cable exits the frame at a designated point; chase or clip this into the roof buildup and down to the control unit.
Key points for motorised skylight wiring:
- Use only the motor cable supplied with the unit do not substitute with standard lighting flex.
- Maintain minimum bend radii to avoid insulation damage where the cable exits the frame.
- Use cable entry grommets or conduit where the cable passes through the roof buildup to prevent chafing and water ingress.
- Where multiple rooflights share a controller, confirm the amperage rating covers the combined motor load.
For linked or modular projects, the large modular linked glass flat rooflight range is designed with multi-unit wiring in mind.
Step 4 – Control Options and Setup
Once wired, configure the control method. The table below covers the main options and what each requires on site.
|
Control Type |
How It Works |
Best For |
Wiring Required |
|
Wall Switch |
Hard-wired to mains switch |
Fixed, accessible locations |
Yes – mains wiring |
|
Remote Control |
RF/infrared handheld remote |
High or hard-to-reach rooflights |
Motor wiring only |
|
Rain Sensor |
Auto-closes on moisture detection |
All electric rooflights |
Integrated sensor cable |
|
Smart Home / App |
Wi-Fi or Zigbee control via app |
Modern smart homes |
Motor + smart hub wiring |
|
Building Management |
Centralised BMS integration |
Commercial projects |
Full BMS cabling |
Where a wall switch is specified, it must be installed by a qualified electrician under Part P of the Building Regulations. Remote and sensor-only setups offer more flexibility —but confirm scope with the client before proceeding.
Setting Up a Powered Rooflight System with Sensors
A well-configured powered rooflight system does more than open and close on demand. Rain sensors automatically close the unit when moisture is detected; wind sensors protect glazing in exposed locations. Both are consistently valued by end clients and straightforward to commission once wiring is complete.
Sensor cables are typically routed inside the frame profile and exit alongside the motor cable. Most manufacturers integrate rain sensors directly into the frame head, keeping the external profile clean. Wind sensors, where separate, mount at the roofline and wire back to the controller.
Once installed, test sensors by simulating rain contact on the sensor plate and confirming closure within the expected response time usually two to five seconds. Adjust sensitivity at the controller if the unit triggers on dew rather than active rainfall.
Compliance: What Installers Need to Know
Electric rooflights on domestic properties fall under several regulatory considerations:
- Part L — glazing must meet minimum thermal performance standards. Confirm U-values from the product data sheet against the specification.
- Part P — any hard-wired mains connection must be carried out or certified by a competent electrician and notified to Building Control where required.
- Part F — where the rooflight serves as a ventilation opening, confirm the free area meets requirements for the room type.
- Secure by Design — if specified, confirm the unit carries appropriate accreditation.
All products from Skylights Roof Lanterns are manufactured to UK building standards and include full product data to support compliance documentation.
Common Installer Queries
Can I retrofit a motor to an existing manual rooflight? Sometimes but only if the manufacturer offers a retrofit actuator kit for that specific model. If the frame was not designed to accept a motor, replacement is the correct route. Always confirm with the supplier before quoting a retrofit to a client.
What happens if the motor fails? Quality units include a manual override — typically a hand crank or internal release allowing operation without power. Confirm this is accessible post-installation and brief the client on its location. The Brett Martin electric roof windows range offers reliable units with solid aftercare support.
How do I fix a rooflight that won't fully open or close? Almost always a limit switch issue. Most motors include adjustable open and close limits in the drive unit — locate the adjustment point (usually a hex key setting) in the installation manual and reset to the correct travel range.
Smart Home Integration
Demand for smart home compatibility is rising, and electric rooflights are increasingly specified alongside wider automation systems. Confirm early which protocol the client's system uses Zigbee, Z-Wave, KNX, or a proprietary Wi-Fi platform as this determines whether the rooflight controller integrates directly or needs a bridge device.
On simpler projects, a basic RF remote with receiver is often sufficient and quick to commission. For full smart home integration, coordinate with the automation contractor before installation is complete to ensure clean cable routes.
If your project also involves energy performance considerations, the guide on eco-friendly skylights for modern UK homes covers product selection from a thermal and sustainability perspective useful context when advising clients at specification stage.
Frequently Asked Questions
Do all electric rooflights support smart home integration?
Can I add smart home integration to an existing electric rooflight?
Is Alexa skylight control difficult to set up?
Will my rooflight still work if the internet goes down?
Can I control multiple rooflights as a group through Google Home or Alexa?
Is smart home integration secure for a rooflight?
Does skylight smart home integration affect the product warranty?